How to Build the Best Home Internet Setup on Your Wi-Fi Devices
Let’s talk about the best home internet setup—because unless you enjoy watching that little spinning buffer wheel more than your favorite show, you’re going to want to get this right from the jump. Connecting all your Wi-Fi devices shouldn’t feel like launching a satellite into orbit. Whether you’re a streaming beast, a remote work warrior, or someone who just wants to video call without freezing mid-sentence in an awkward face—this guide’s for you.
Grab a snack, silence the group chat, and let’s dive into the glorious chaos of getting your home online.
Step 1: Get Internet (Yes, It’s Step Zero Too)
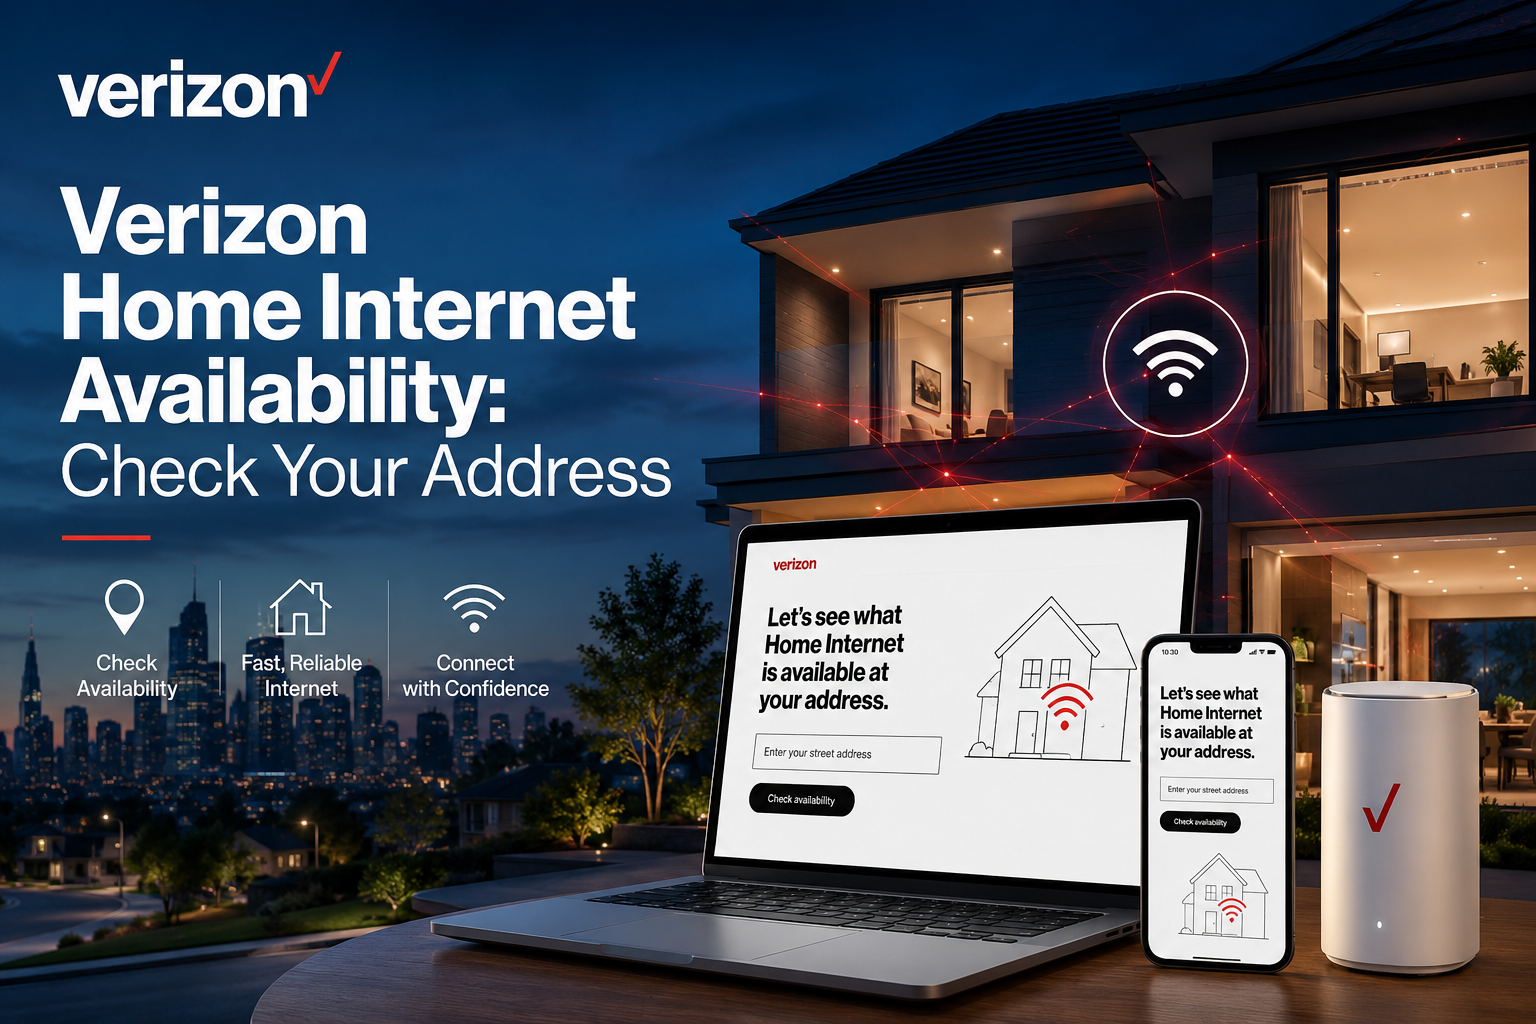
If you’re still borrowing your neighbor’s weak signal like it’s 2004, we need to have a talk. First things first, you need an internet service provider. Use a trusted tool to see what’s available in your ZIP code, because not all heroes wear capes—some bring gigabit speeds.
You’ll usually be offered two options: professional install (aka “sit back and let them handle it”) or self-install (aka “hope you don’t cry in the middle of it”).
Choose wisely. Professional installation is your best bet if your house has never seen a cable or fiber line. But if you’re already wired and feeling brave, the self-install kit is your golden ticket. Some providers even toss in a free install deal, which—let’s be honest—feels better than finding cash in your winter coat.
And once that sweet, sweet internet is flowing? You’re on your way to building the best home internet setup in the neighborhood.
Step 2: Modem—Your Network’s Gateway Drug
You can’t tap into your connection without the modem, that magical device that acts like a translator between the massive internet highway and your cozy digital cul-de-sac. Your provider will either install it for you or hand it over like it’s a sacred relic and wish you luck.
If you’re on cable or DSL, your modem connects to the good ol’ coax or telephone line. But if you’re going full space-age with fiber, it’s called an ONT (Optical Network Terminal). Don’t worry about the terminology—it still connects you to the great beyond of memes and meetings.
Plug that bad boy in, wait for the status lights to give you the green light (literally), and if nothing happens? Don’t panic. It might need activation. Call your provider or log in to your account and give it the digital nudge it needs.
Congratulations, you’ve completed one major milestone in your best home internet setup. Take a sip of that coffee. You’ve earned it.
Step 3: Install the Router (Or: The Real MVP Enters the Chat)
Alright, modem’s all lit up like a Christmas tree—now what? Time to install the router. If the modem is the translator, the router is the town planner. It distributes the internet to all your devices, like Oprah giving away free cars. “You get a connection! You get a connection!”
Your router might come as a standalone or be built into an all-in-one gateway. And if you’ve got a mesh system, welcome to the Wi-Fi elite. These little pods work together to eliminate dead zones like ghostbusters for bad signal.
Here’s how you install wifi router (with your sanity intact):
First, plug one end of the Ethernet cable into your modem’s WAN port, the other into your router’s matching port. Power it on and let it boot up. You’ll know it’s ready when the blinking lights start making you feel judged.
Find the sticker on the bottom—yes, that one with microscopic print—and log into the setup via the web interface or the mobile app. This is where you name your network something cool like “FBI Surveillance Van” or “Pretty Fly for a Wi-Fi.”
Oh, and if you’re wondering how to set up wi fi router for maximum efficiency, don’t just shove it behind your TV. Place it out in the open, away from microwaves and walls made of lead (we’re looking at you, 1950s basements).
Now we’re cooking with wireless gas. You’re halfway to a best home internet setup that’ll make your neighbors jealous.
Step 4: Connect Your Devices (The Digital Family Reunion)
So, you’ve got a signal stronger than your morning coffee. Time to connect your beloved devices.
If you used your phone or tablet to set up the router, you’re probably already connected. But your other gadgets need to catch up.
Here’s a quick rundown on how to connect with wifi router across devices:
On your smartphone, go to Wi-Fi settings, select your network name (preferably the one that doesn’t look like a randomly generated password), and enter the password you just created. Boom. You’re in.
On your laptop or desktop, click the Wi-Fi icon, pick the network, enter the password, and you’re ready to doomscroll through the news or upload that client report you forgot was due 10 minutes ago.
Got smart TVs, gaming consoles, tablets, thermostats, smart speakers, and a dog collar that tracks your Shih Tzu’s step count? Yeah, connect those too. One by one. Welcome to the Internet of Things.
You’re now entering home networking box territory—where every gadget in your house starts talking to each other like they’re in a high-tech family reunion.
Step 5: Go Wired If You Must (Or Prefer Lightning-Fast Gaming)
Wi-Fi is great until your kid’s Roblox stream tanks your Zoom call. For mission-critical devices, plug in via Ethernet. It’s more stable and often faster.
Take your Ethernet cable, plug it into one of your router’s LAN ports, then into your computer or gaming console. No ports? You might need a USB-C to Ethernet adapter. Or better yet, get a switch if you’re feeling extra and want to hardwire everything from your smart fridge to your grandma’s tablet.
Pro tip: This setup is also ideal for wireless lan setup—which, despite the name, often benefits from a wired backbone when you’re dealing with mesh systems.
Step 6: Customize Like a Network Boss
Now it’s time to tweak your network like a pro. Log back into your router’s settings via web or app. Rename your SSID, set a new password, enable parental controls if your kid’s screen time is starting to rival Netflix’s entire runtime, and maybe even set up guest networks for visitors who still think 12345678 is an acceptable password.
You’ll also want to set up a home network that works for you—whether that’s prioritizing bandwidth for your work laptop, isolating IoT devices, or just ensuring your cat’s automatic feeder always stays online (priorities, people).
Feeling ambitious? Add smart home controls, security monitoring, or even remote access. Just make sure it’s all secure, because “open Wi-Fi” is just hacker bait wrapped in convenience.
This stage is the cherry on top of your best home internet setup. It’s where your digital kingdom comes alive.
Step 7: Test Everything (and Brag a Little)
Once everything is connected and humming like a well-tuned engine, do a speed test. Make sure you’re getting what you’re paying for. If not, reboot your gear or contact your provider—they might need to send a refresh signal or dispatch a technician to check things out.
If all’s good? Sit back, stream 4K, play online games with zero lag, host Zoom calls without freeze-frame horror scenes—and maybe even brag a little. You’ve earned it.
Next time a friend asks how to connect to home Wi-Fi or why their video call keeps glitching, you’ll be able to flex your expertise and your stable signal.
Conclusion: Your Internet Empire Awaits
Let’s recap: You started with no internet, installed the modem and router (possibly without crying), connected every device in your digital kingdom, and customized it all to fit your lifestyle. That, my friend, is how you create the best home internet setup your devices have ever seen.
You’re not just online. You’re thriving. You’ve leveled up from Wi-Fi wanderer to networking ninja.
And whether you had to install wifi router yourself or relied on the pros, the result is the same: rock-solid internet, across all your devices, with no buffering in sight.
Now go forth, browse wildly, stream endlessly, and—most importantly—never ask your neighbor for Wi-Fi again.